How To Connect Wifi Extender To Router With Wps
How To Connect Wifi Extender To Router With Wps Have you recently acquired a WiFi extender to enhance your home or garage network? Are you eager to master the art of connecting it to your router via WPS? Look no further; you’ve landed at the right destination.
Before you embark on this journey, ensure that both your router and extender support WPS connectivity. Additionally, your wireless network should be operational and functioning seamlessly.
Let’s dive into the process of connecting your WiFi extender to the router using WPS. This straightforward procedure can be completed in just ten minutes. So, let’s get started without any delay.
Streamlining the Connection Process
Preparing for the Connection
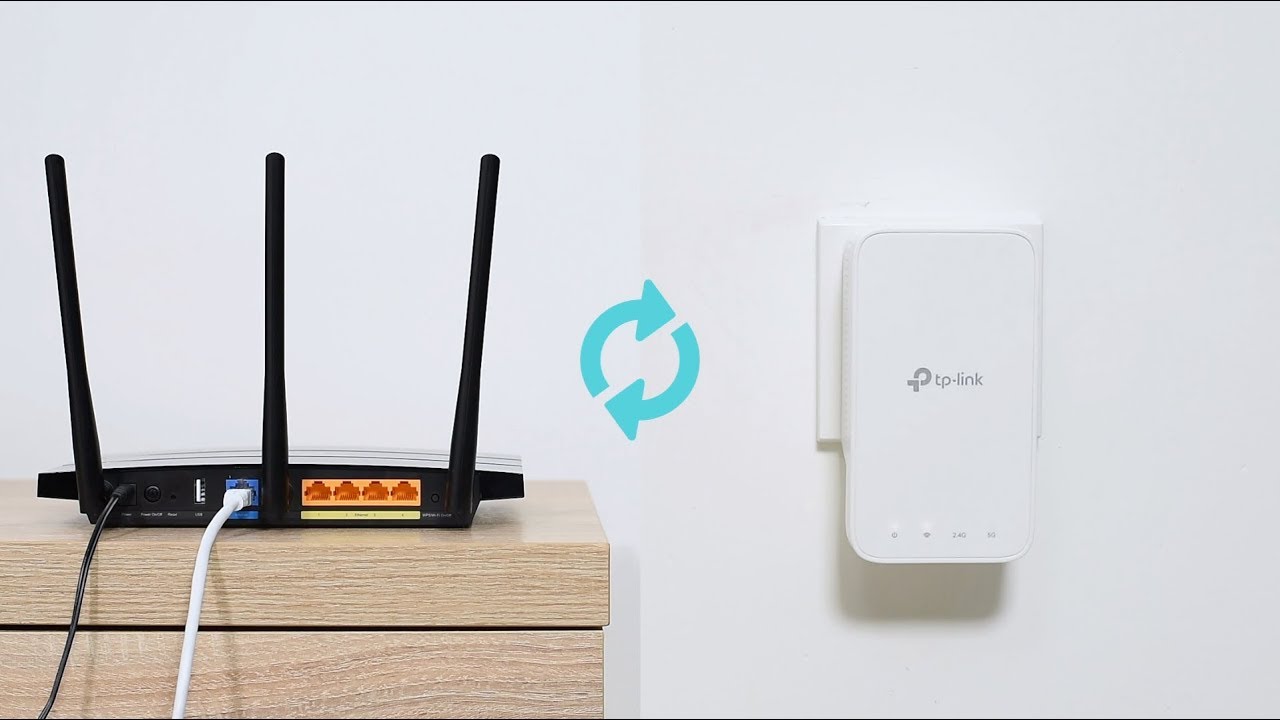
- Placement of the Extender: Begin by plugging your Range Extender into a power outlet in proximity to your primary Router.
- Initiating WPS: Press the WPS button on your main Router first, followed immediately by pressing the WPS button on your Range Extender.
- Timing is Key: Ensure that you press the WPS button on your Range Extender within two minutes of pressing the WPS button on your Router.
Establishing the Connection
- Indication of Connection: Upon pressing the WPS button on your Router, observe the blinking of the Router’s WPS LED.
- Activating the Extender: Subsequently, press the WPS button on your Range Extender.
- Blinking Signal Confirmation: If the WPS LED on your Router or Range Extender blinks, you’re on the right track. If it doesn’t blink, press the WPS button again until it does.
- Completion of WPS Process: The WPS process typically spans two minutes.
- Validating Connection: Check the wireless signal LED on your Range Extender. If it’s illuminated, you’ve successfully connected your Range Extender to your main Router.
Fine-Tuning the Coverage
Having connected the Extender to your Router via WPS, it’s crucial to assess whether you’re achieving optimal coverage and speed in your desired location. If not, consider relocating the extender for an enhanced experience.
Evaluating Your Extender’s Performance

After configuring your WiFi extender, it’s prudent to test its functionality to ensure it’s effectively amplifying coverage. This process aids in identifying any potential issues and fine-tuning your network for robust and dependable WiFi connectivity throughout your premises.
Follow these steps to test your WiFi extender:
- Target Dead Spots: Move to areas that previously suffered from weak or nonexistent network coverage.
- Connect to Extender: Link your device (laptop, smartphone) to the WiFi network of your extender.
- Speed Test: Perform a speed test via a web browser to assess network performance.
- Signal Strength Comparison: Compare the signal strength with and without the extender’s presence.
- Consistency Check: Test multiple locations to ensure consistent coverage across your space.
Read More : How To Setup Google Nest Wifi With Existing Router
Optimizing Extender Placement
Enhance coverage by relocating the extender to a more suitable spot. Follow these steps:
- Identify Weak Spots: Use a device to identify areas with weak or nonexistent WiFi signals.
- Ideal Location: Seek locations closer to dead spots with fewer physical barriers.
- Relocation: Move the extender to the newly identified location.
- Signal Strength Check: Test signal strength in previously weak areas to gauge improvement.
Should the signal remain weak in certain areas, consider repeating the process and exploring alternative locations.
Frequently Asked Questions
- WPS Button Purpose: The WPS button initiates a swift connection to the main router, bypassing the manual entry of the network password. Typically located on the front or side of the extender, it requires compatibility with a router that supports WPS.
- Ease of WPS Setup: Connecting a WiFi extender via the WPS button is remarkably simple and doesn’t demand technical expertise. By pressing a few buttons, you can bridge your extender and main router for an extended network.
- Duration of WPS Configuration: The WPS process spans approximately two minutes. During this time, pressing the WPS button on both the extender and main router is essential for successful connection initiation.
- Validating Extender Connection: The illumination of the wireless signal LED on the extender indicates a successful connection to the main router. Additionally, you can verify your device’s network settings for connection confirmation.
Read More : How To Connect Landline Phone To Wifi Router
Concluding Thoughts
Mastering the connection between your WiFi extender and router using WPS is an endeavor that yields improved network coverage, speed, and cost-effective results. By adhering to these simple steps, you can effortlessly optimize your WiFi experience, ensuring seamless connectivity throughout your premises. Remember, the ideal placement of your extender plays a pivotal role in unlocking its full potential.